
This is meant to be a quick guide on how to upgrade the SSD of a Steamdeck to make more space for games. What you’ll need is an M.2 2230 SSD, a PH1 screwdriver, some plastic cards or prying tools to open it up and a box cutter knife. Oh, and a USB drive with a Type-C adapter and the SteamOS image from Valve’s website. You’ll also want to make sure the deck is fully charged before the operation, as you may not be able to connect the USB drive and the charger at the same time for the reinstallation, unless you have the necessary adapters at hand.

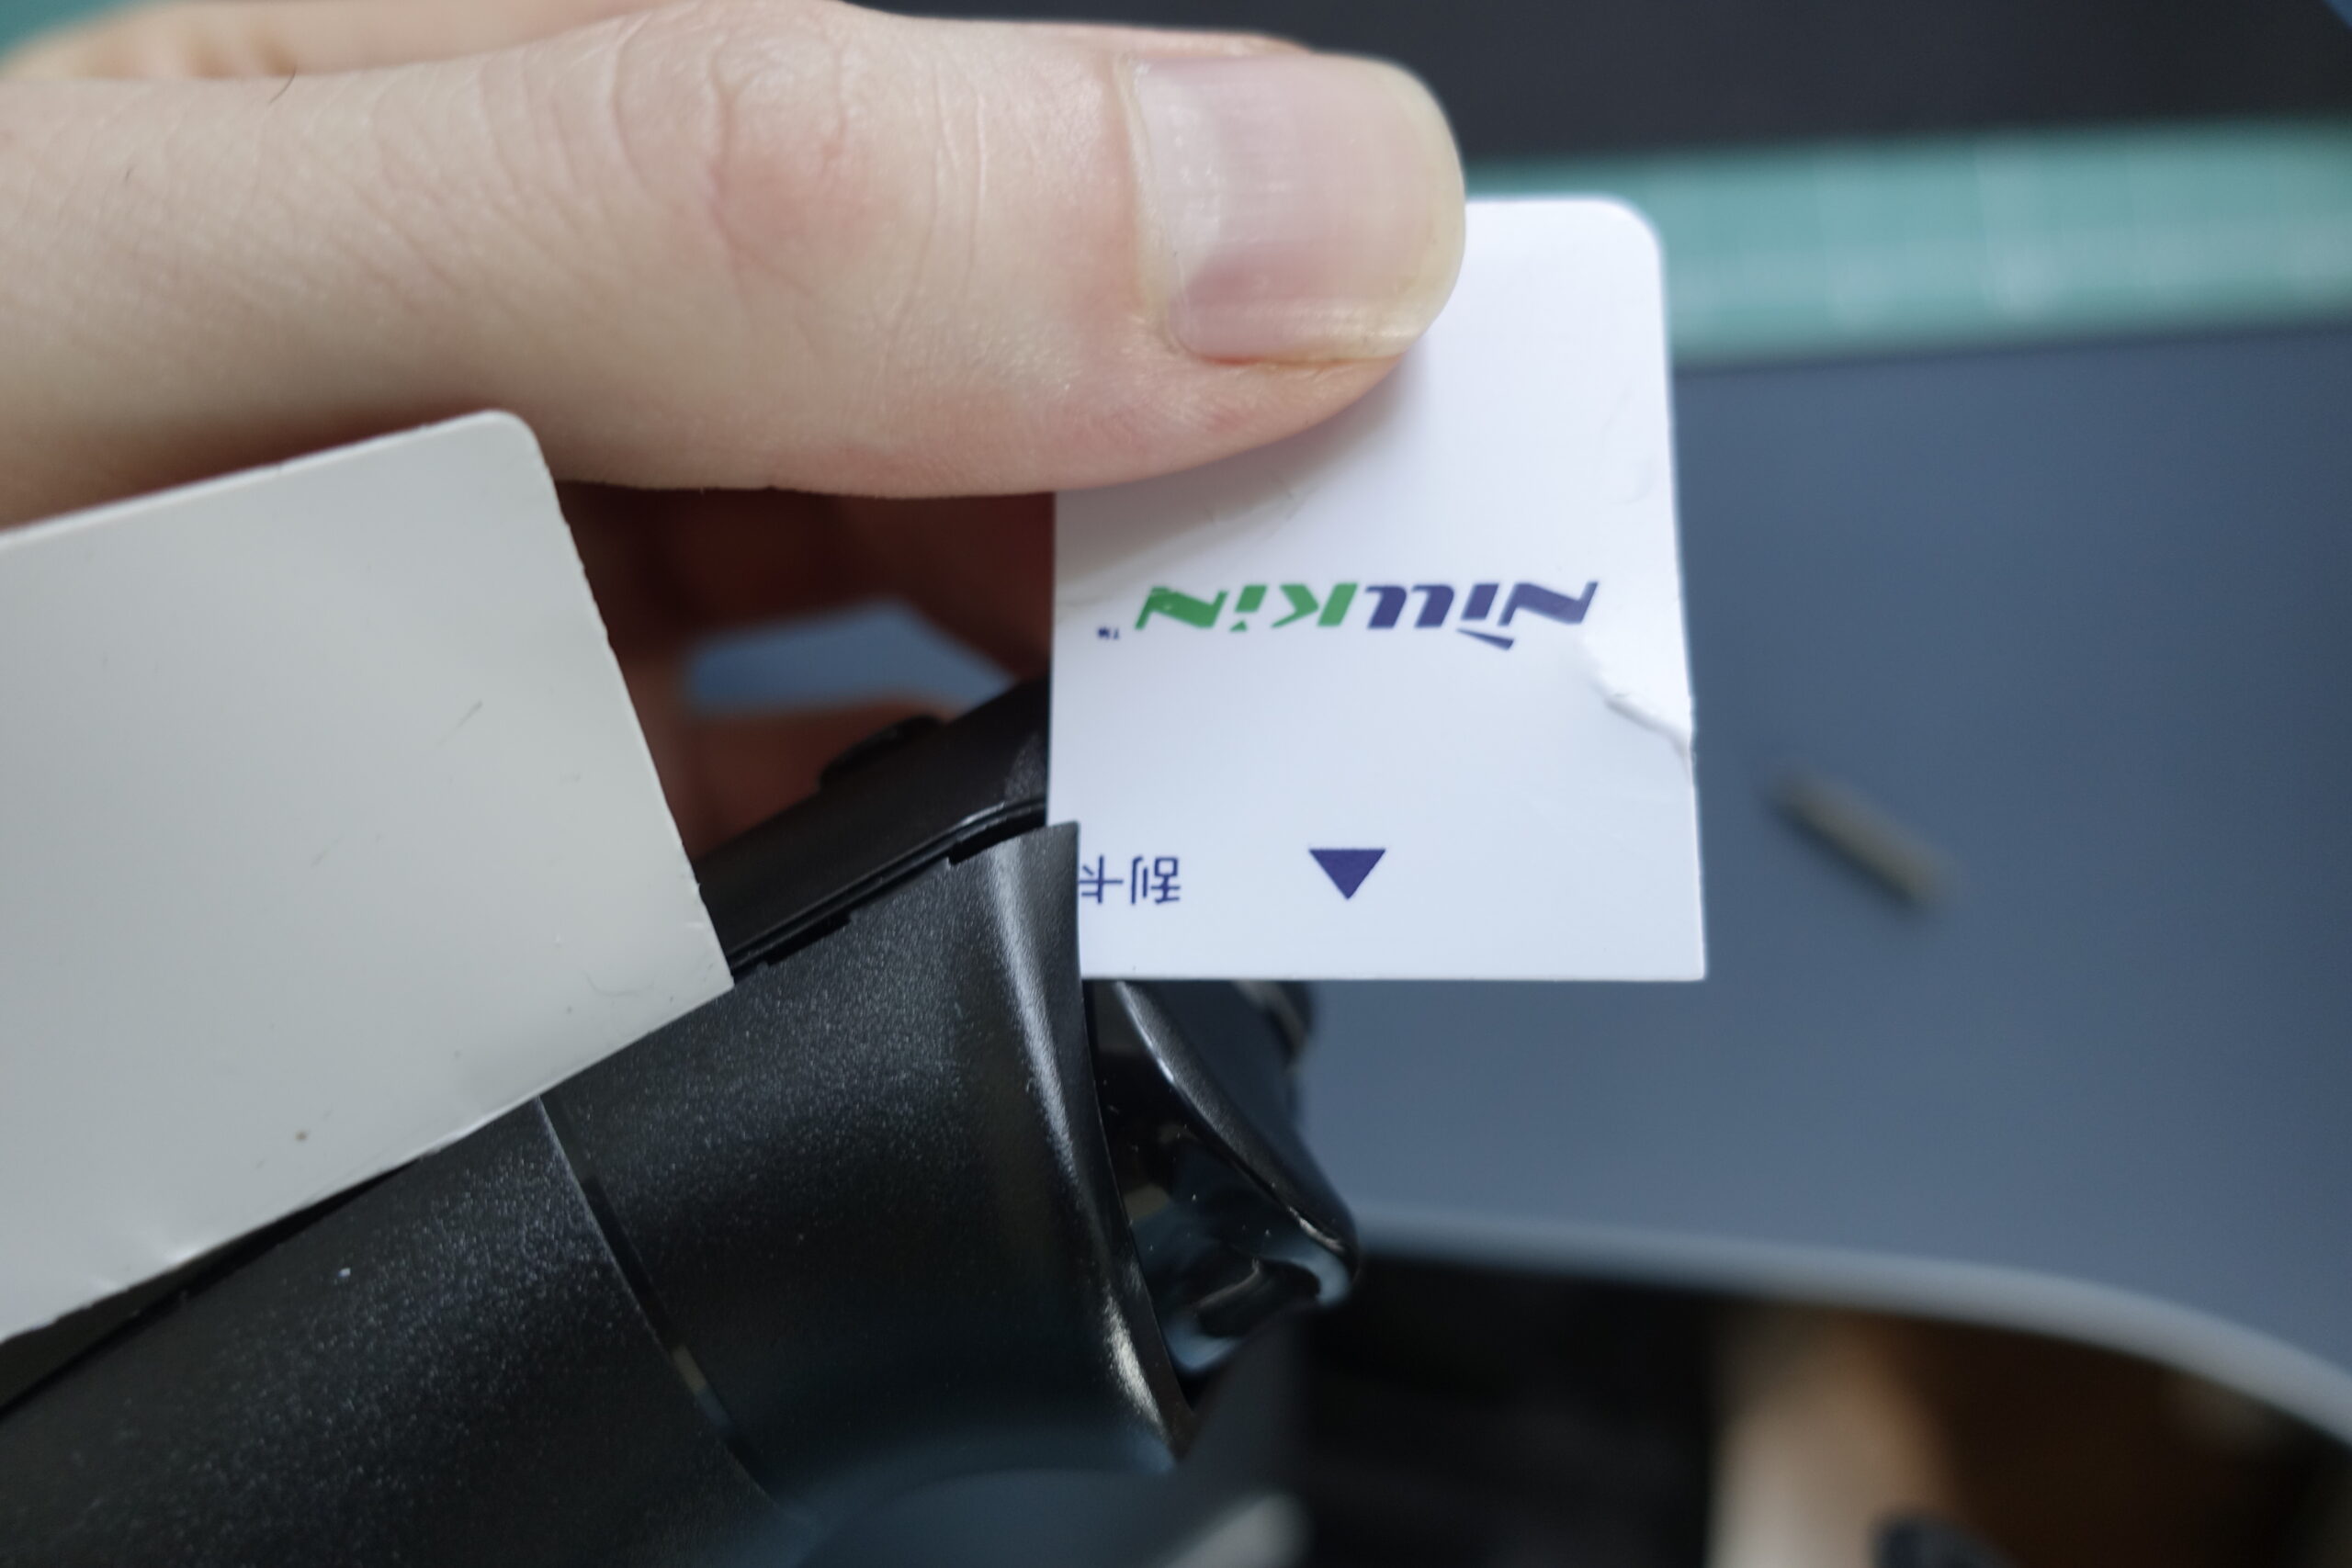
The plastic cards I used were included with screen protectors I purchased in the past, they are about 1/3 as thick as a credit card and very flexible. I found these to be the best tool and I managed to open up the device without a single scratch.
Methodology
First, get everything ready and I suggest you read through the steps before starting to disassemble the deck. It’s also a good idea to find something soft, like a cloth mousepad that you can lie the deck down, the screen facing downwards, without scratching it. Do not exert too much downward force on it though, because that may damage the joysticks. Also, REMOVE THE MICRO SD CARD if you have one installed.
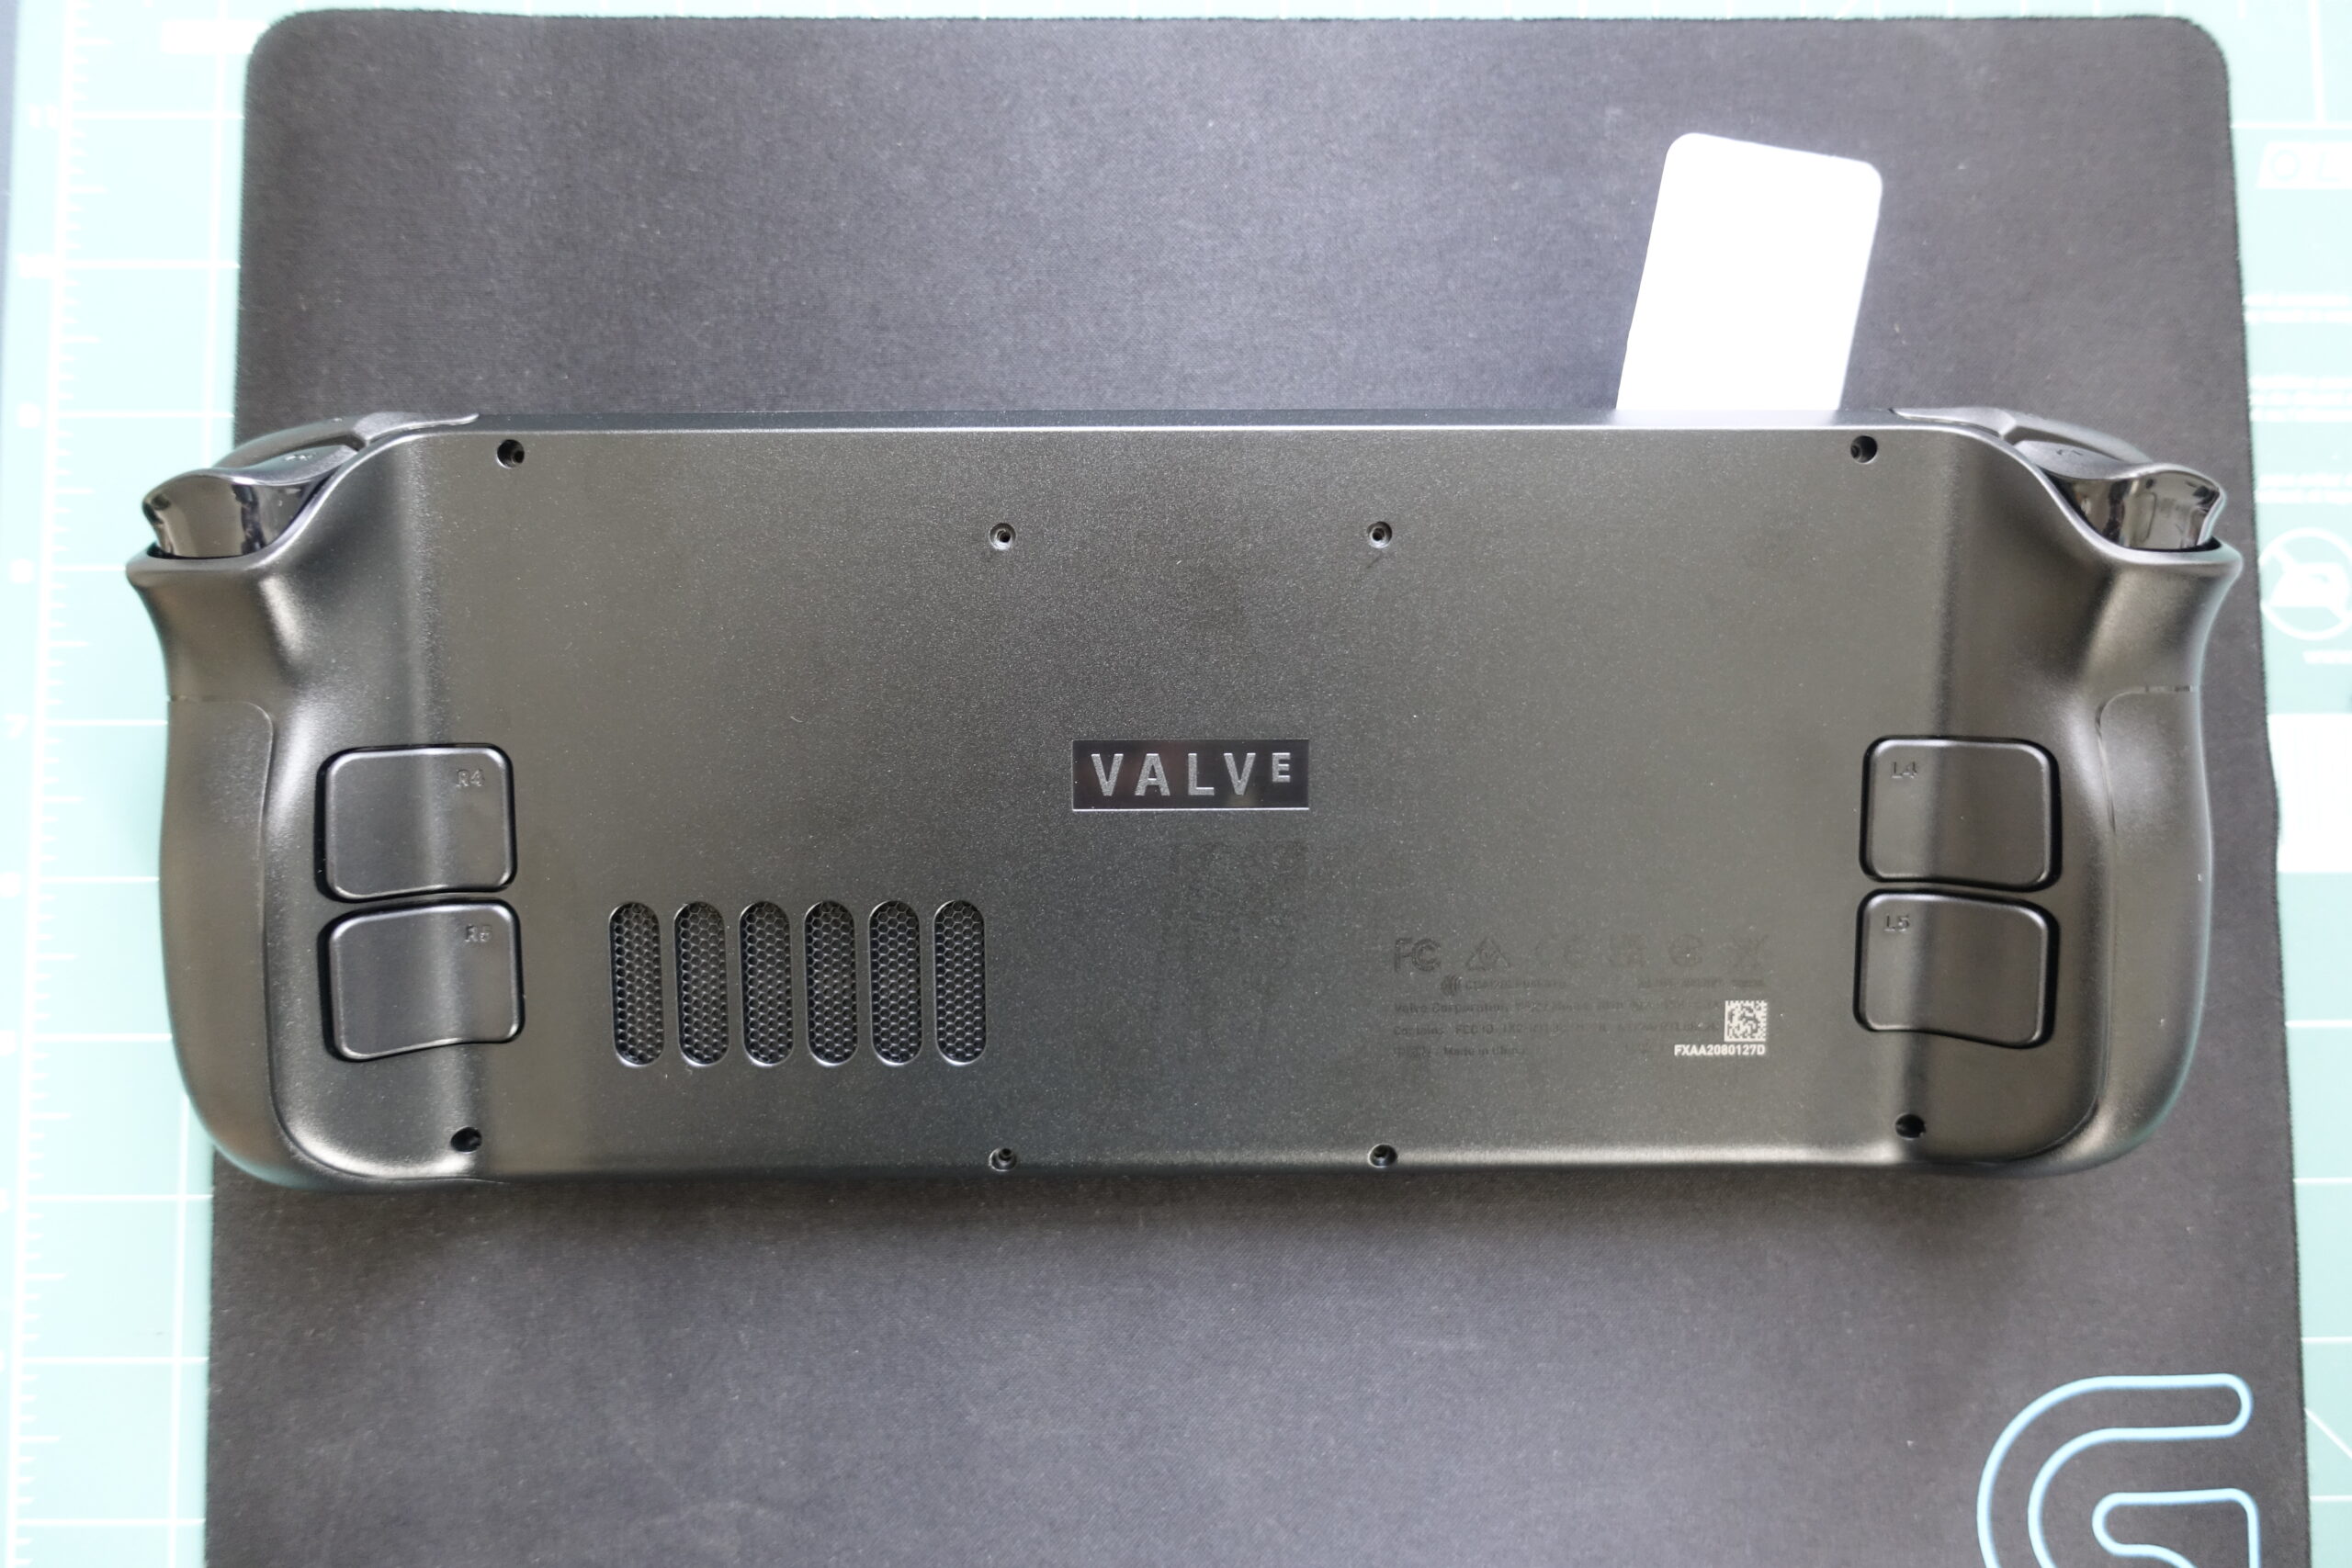
There are 8 screws at the back, 4 short ones in the middle and 4 longer ones further out. Remove all of them.
The next step is to unclip the plastic tabs that hold the back panel in place. This is where you’ll need the plastic cards. The thinner the better. Mine were about ⅓ of a mm. These seem to be ideal and they don’t leave any marks. Regular plastic cards may also work, but they could leave some marks on the plastic when you use them. The first side to unclip is the top with the grill. Slide in the card at one of the sides about 2-3mm deep and start pulling it across gently. If you’re doing it well, you’ll hear audible clicks when the tabs are released. Once you got all the way across, it should look something like this.
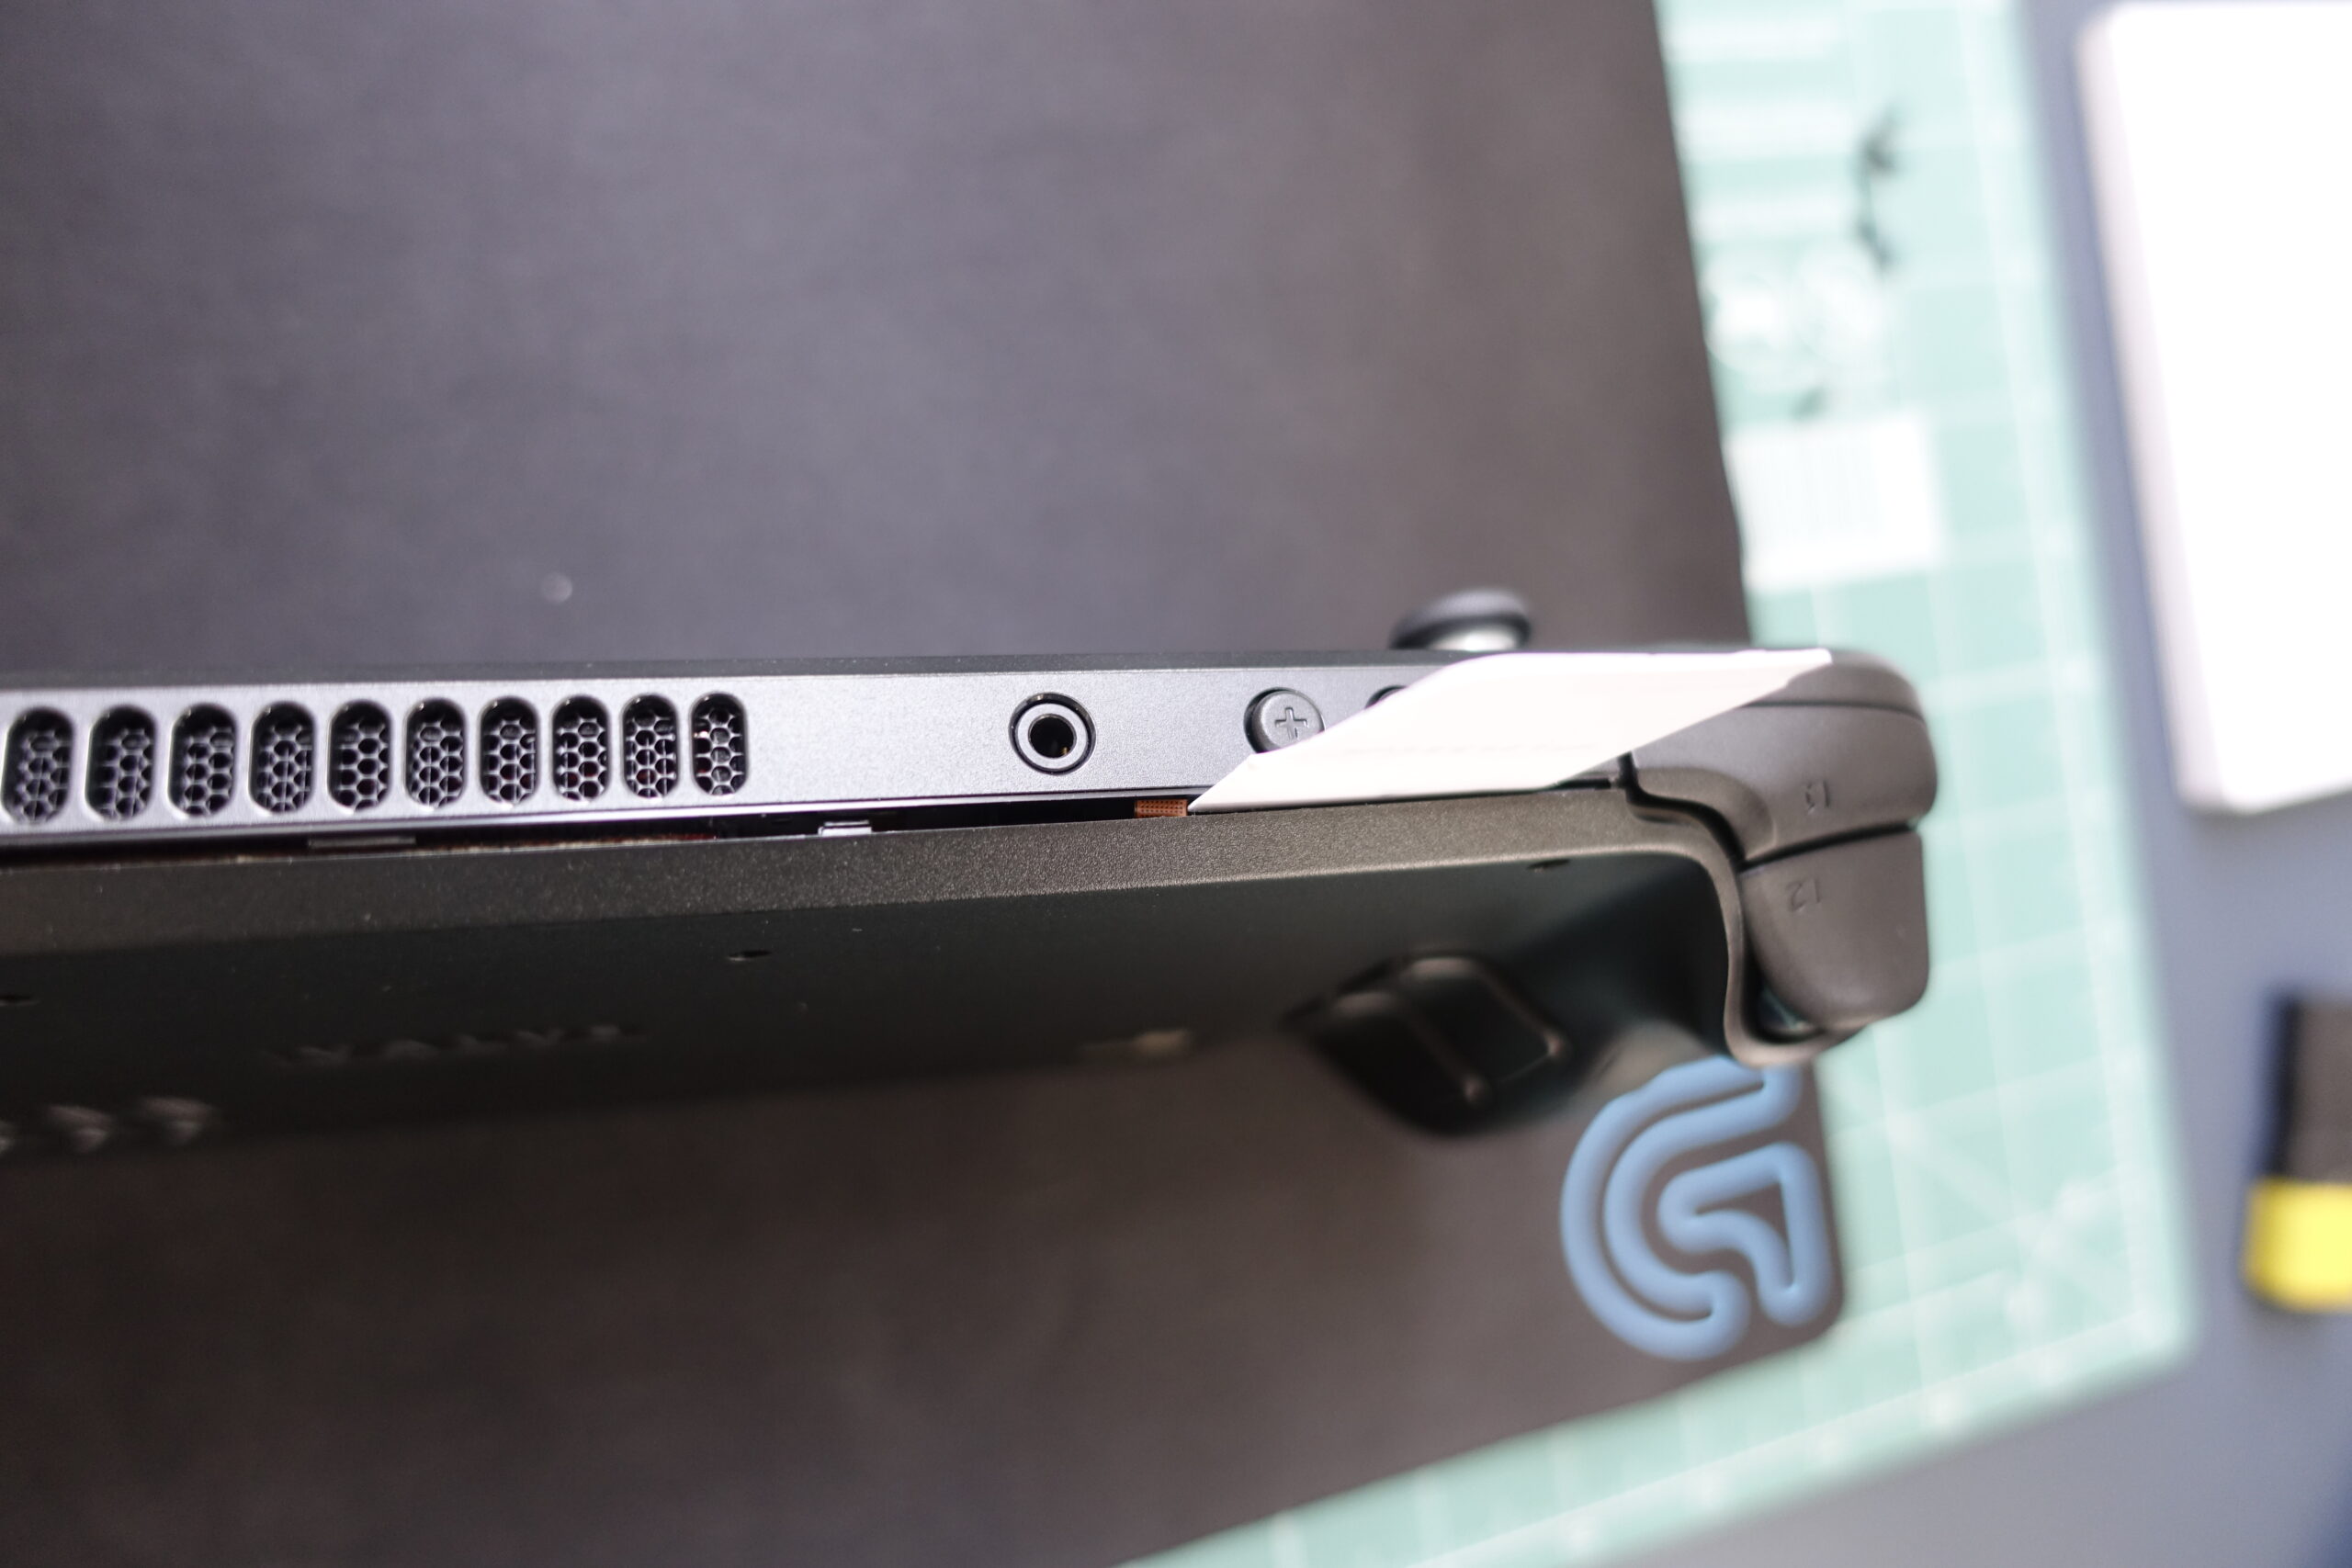
The next are the two sides. Slide in the card at the edge and pull it downwards. This may need a tiny bit more force. Be careful not to slide it across the plastic if it pulls out, as that could leave scratches.
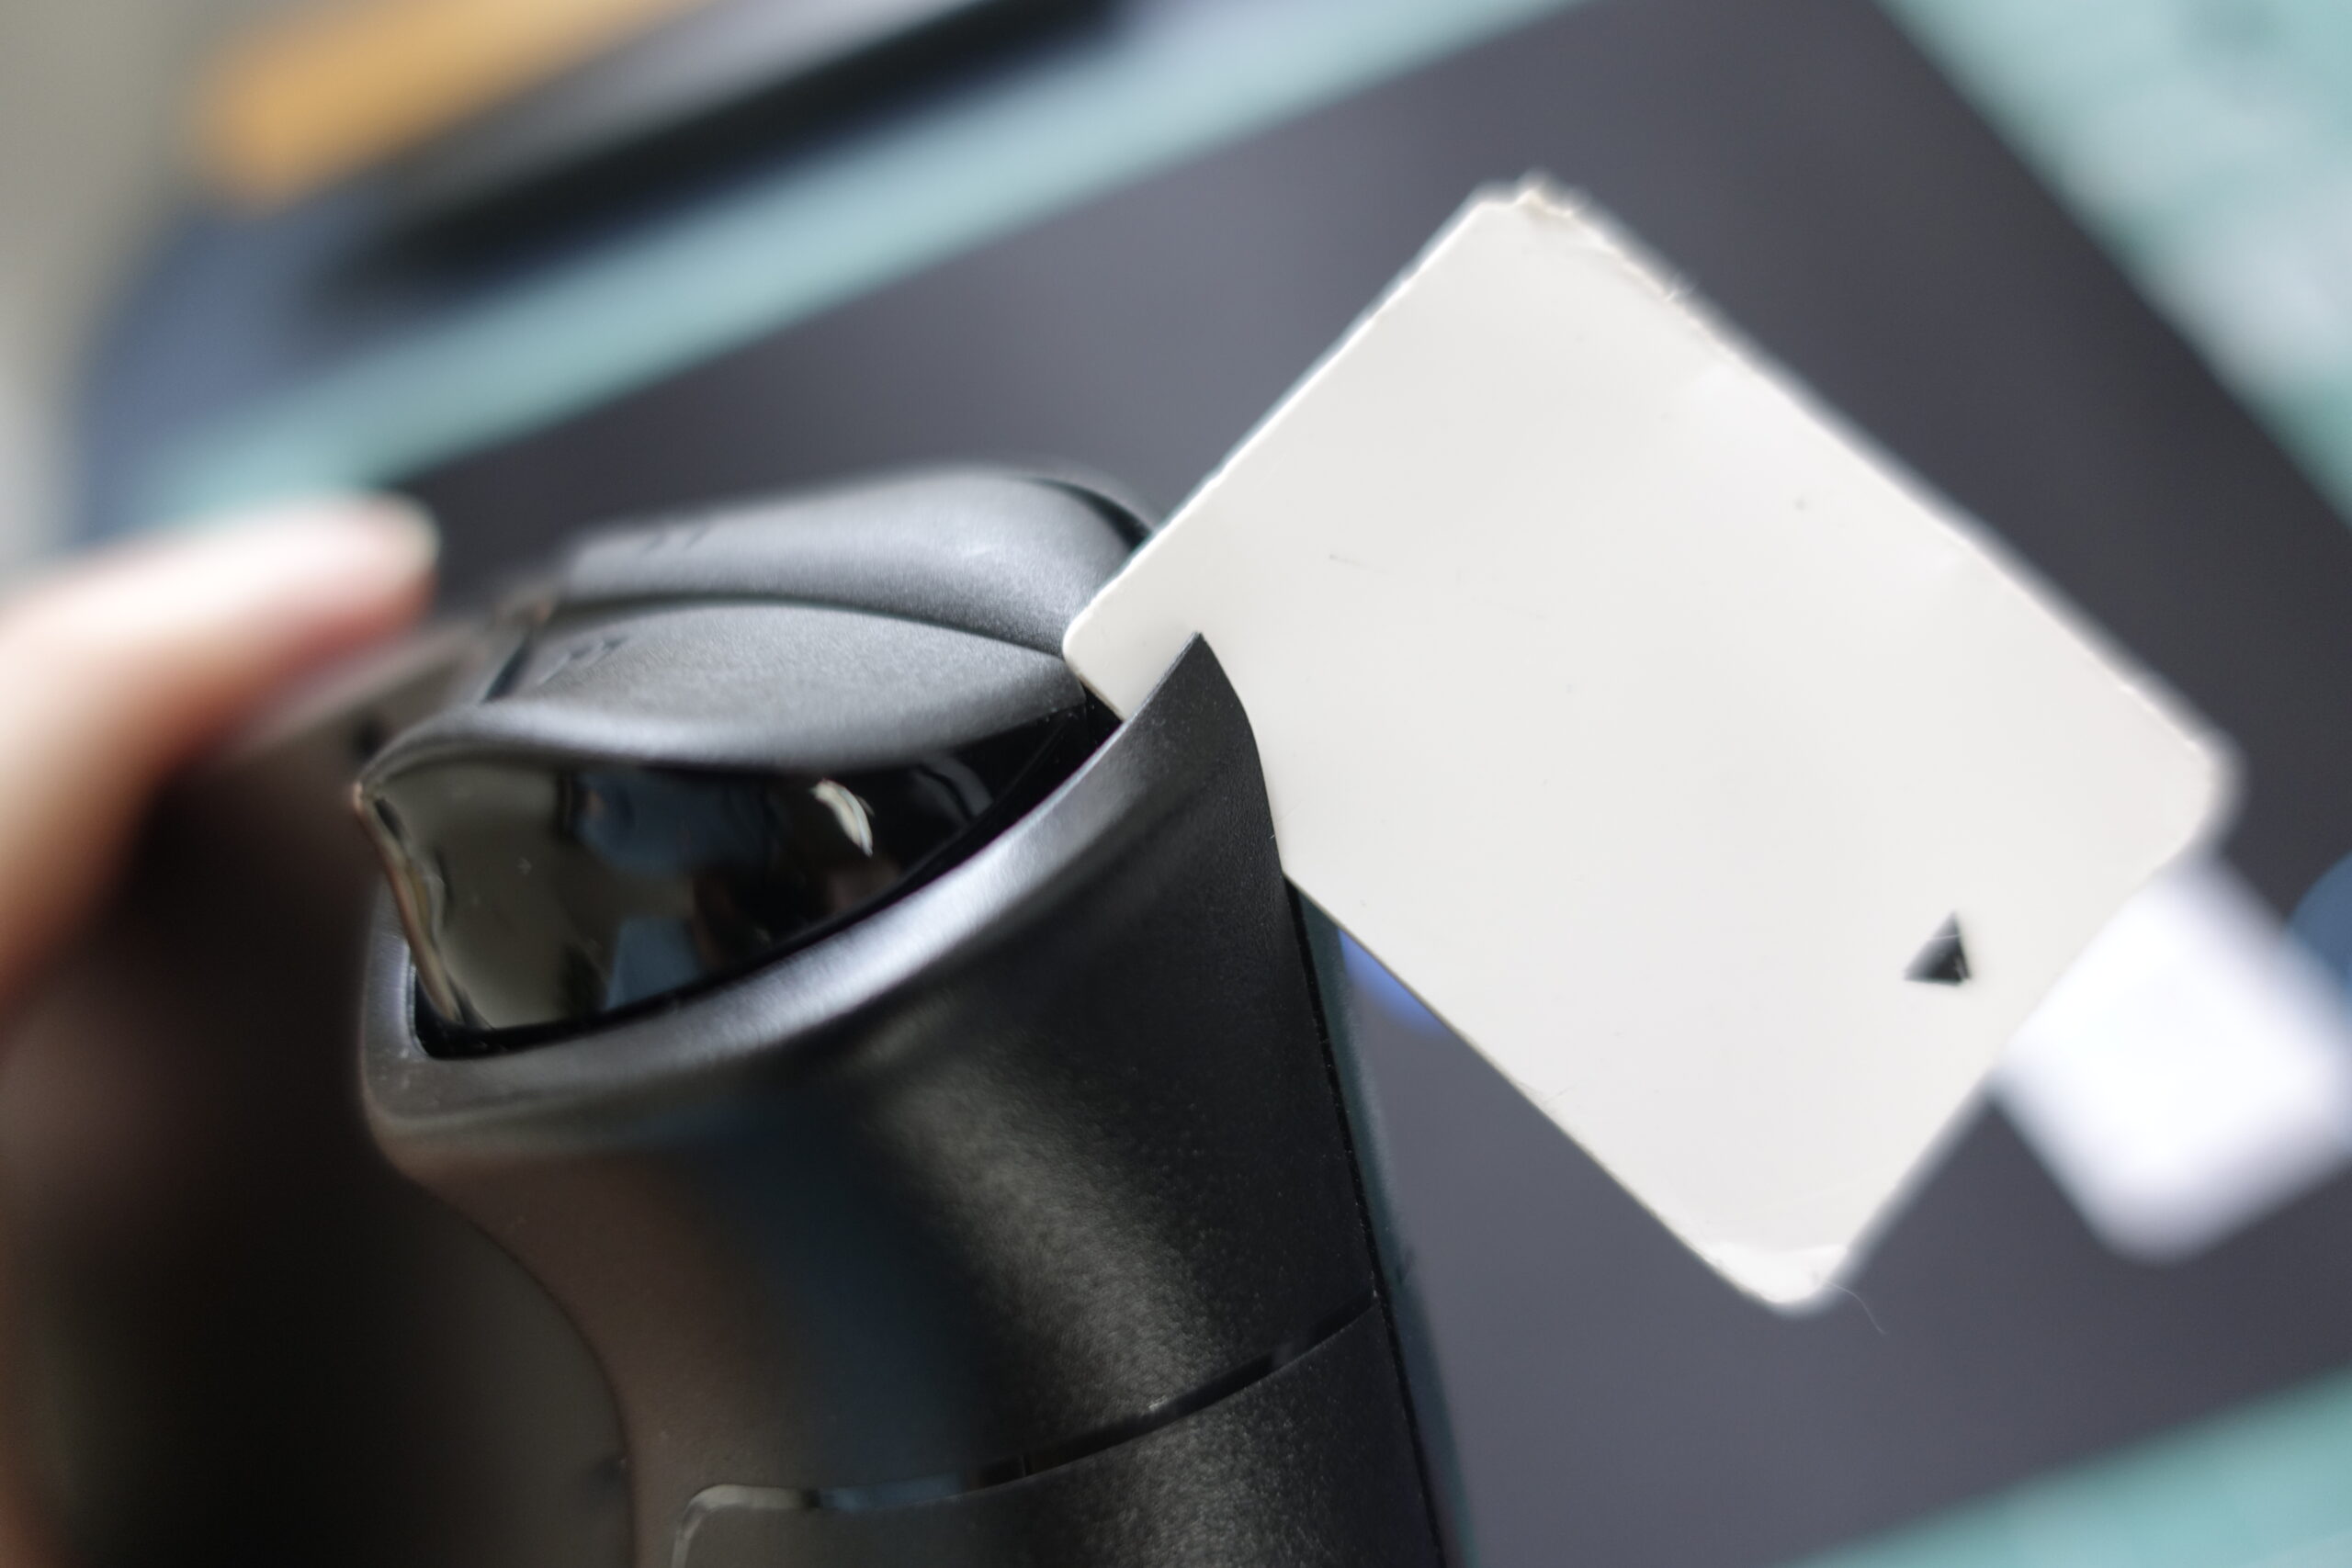
Using another card to help can make things easier.
Once both sides are unclipped, you can fold the back panel up, lifting it at the top edge and gently pulling it outwards.
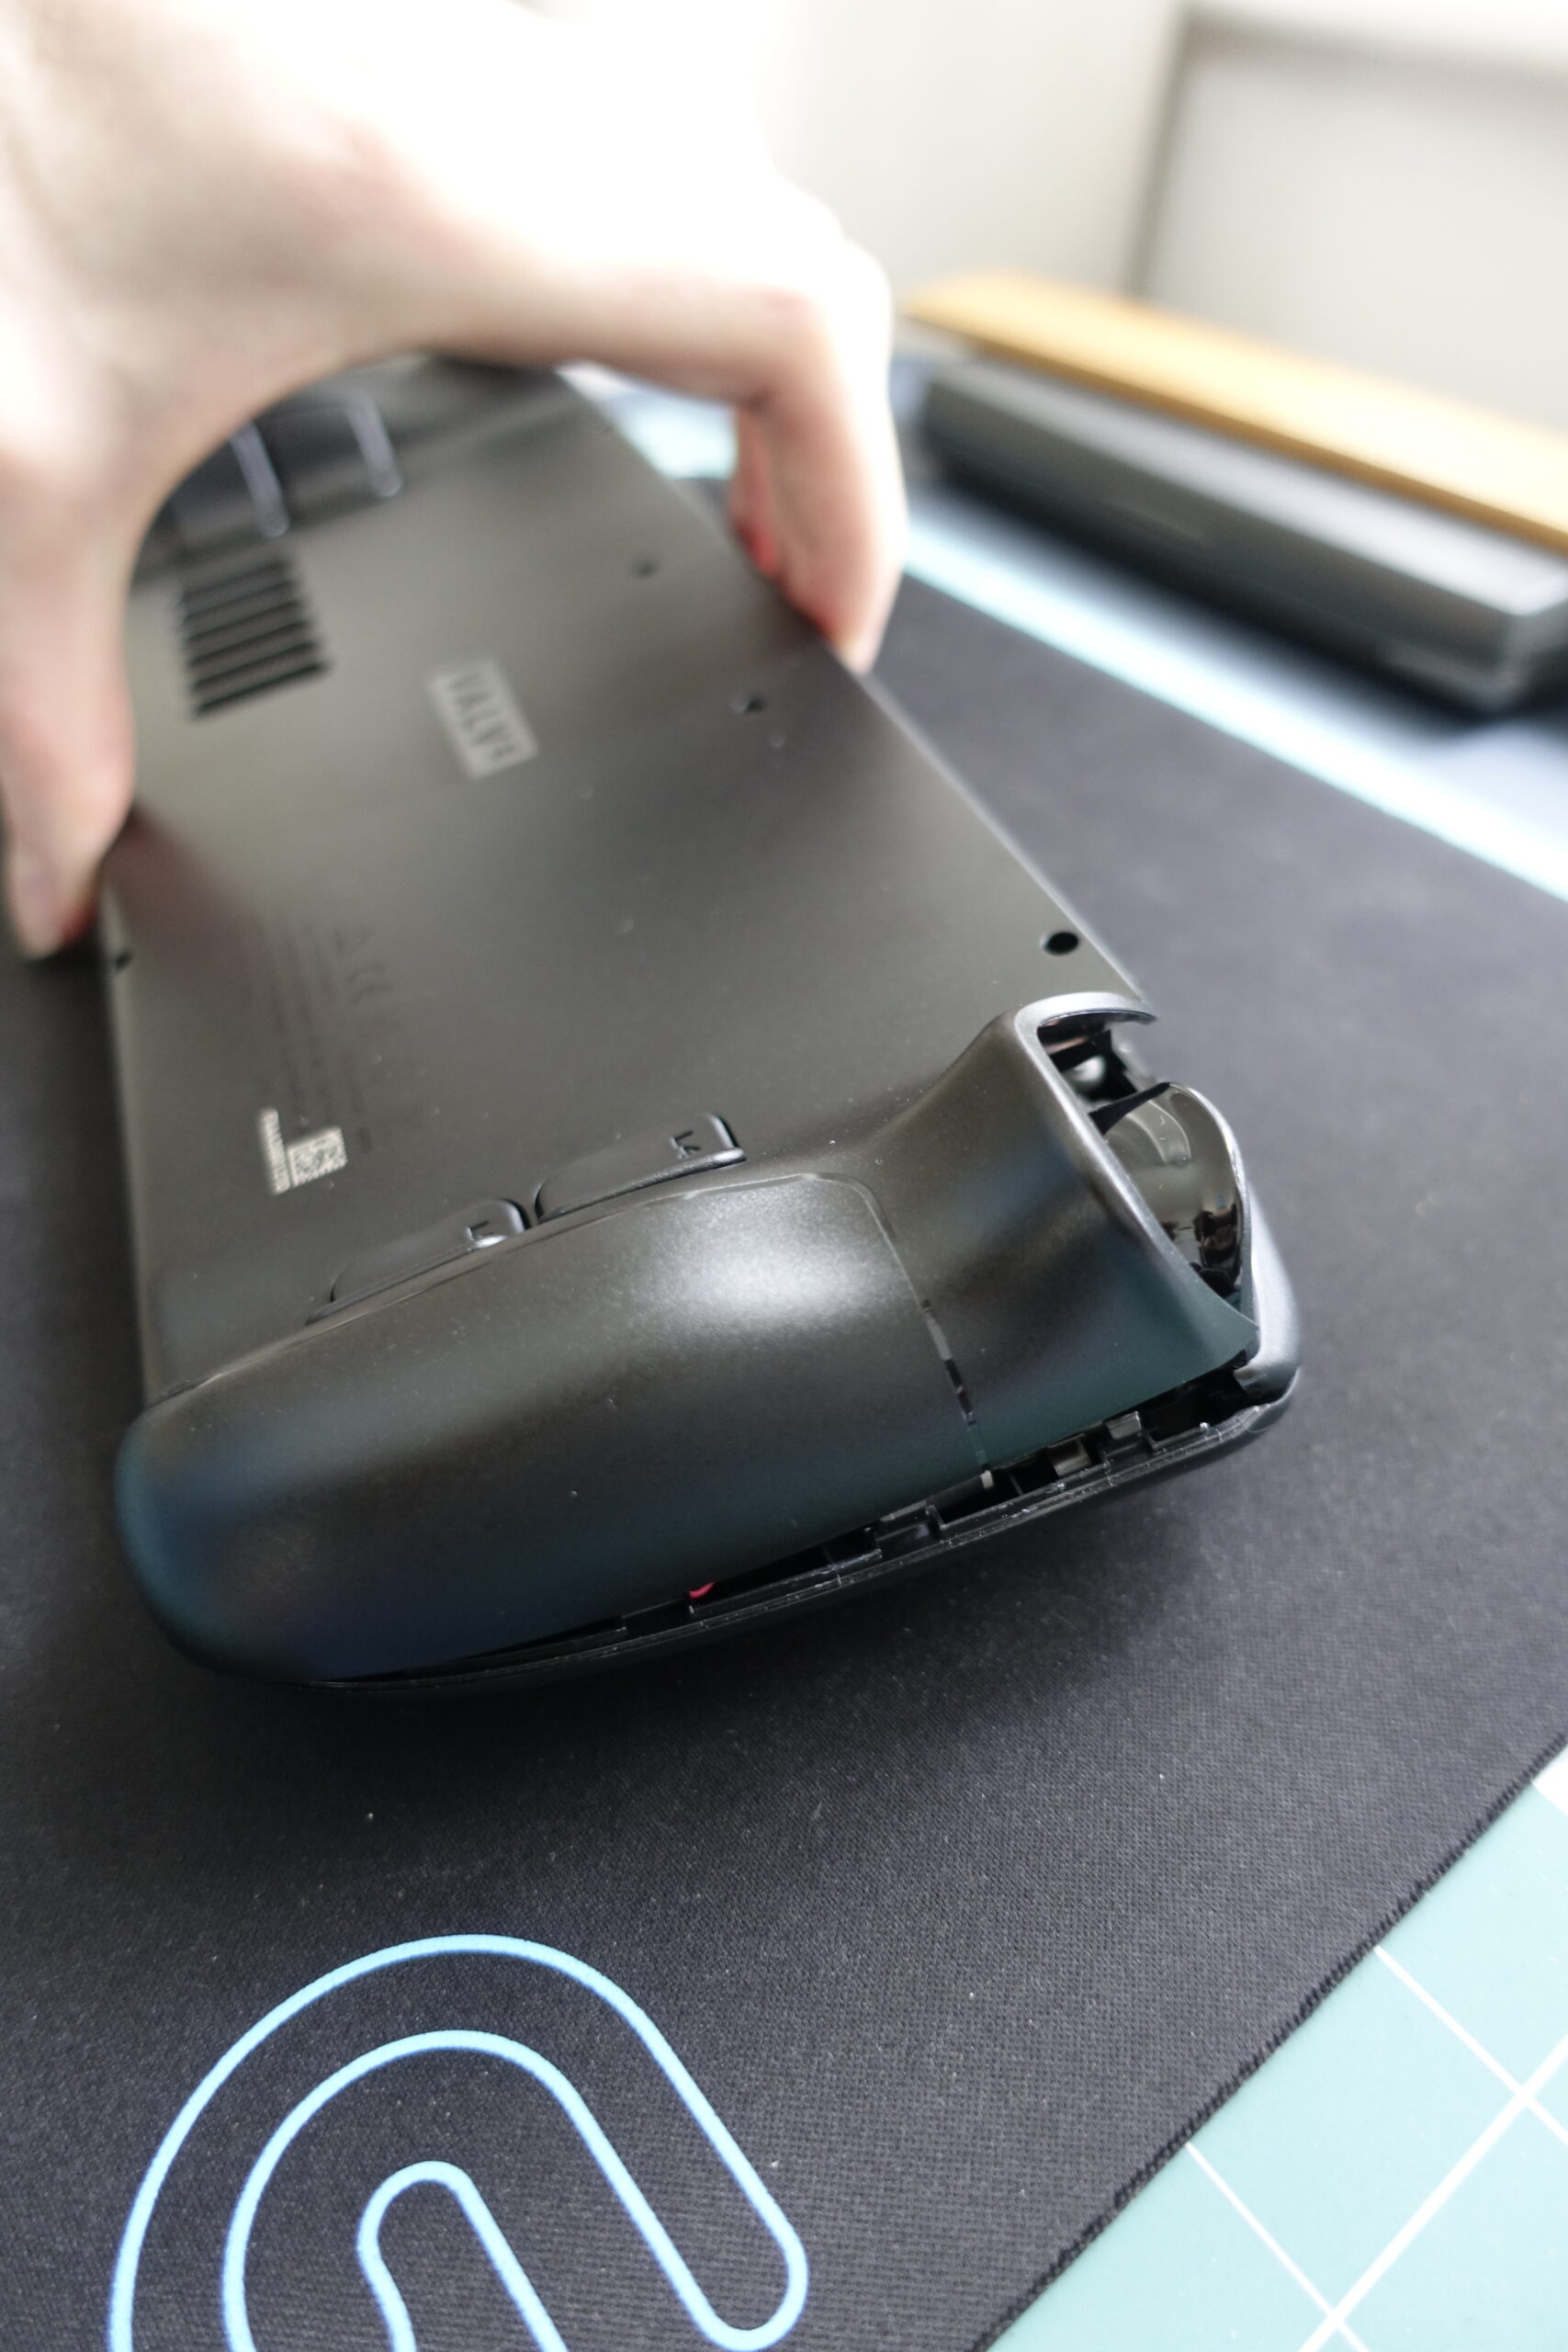
The back panel should now be released. Let’s have a look inside.
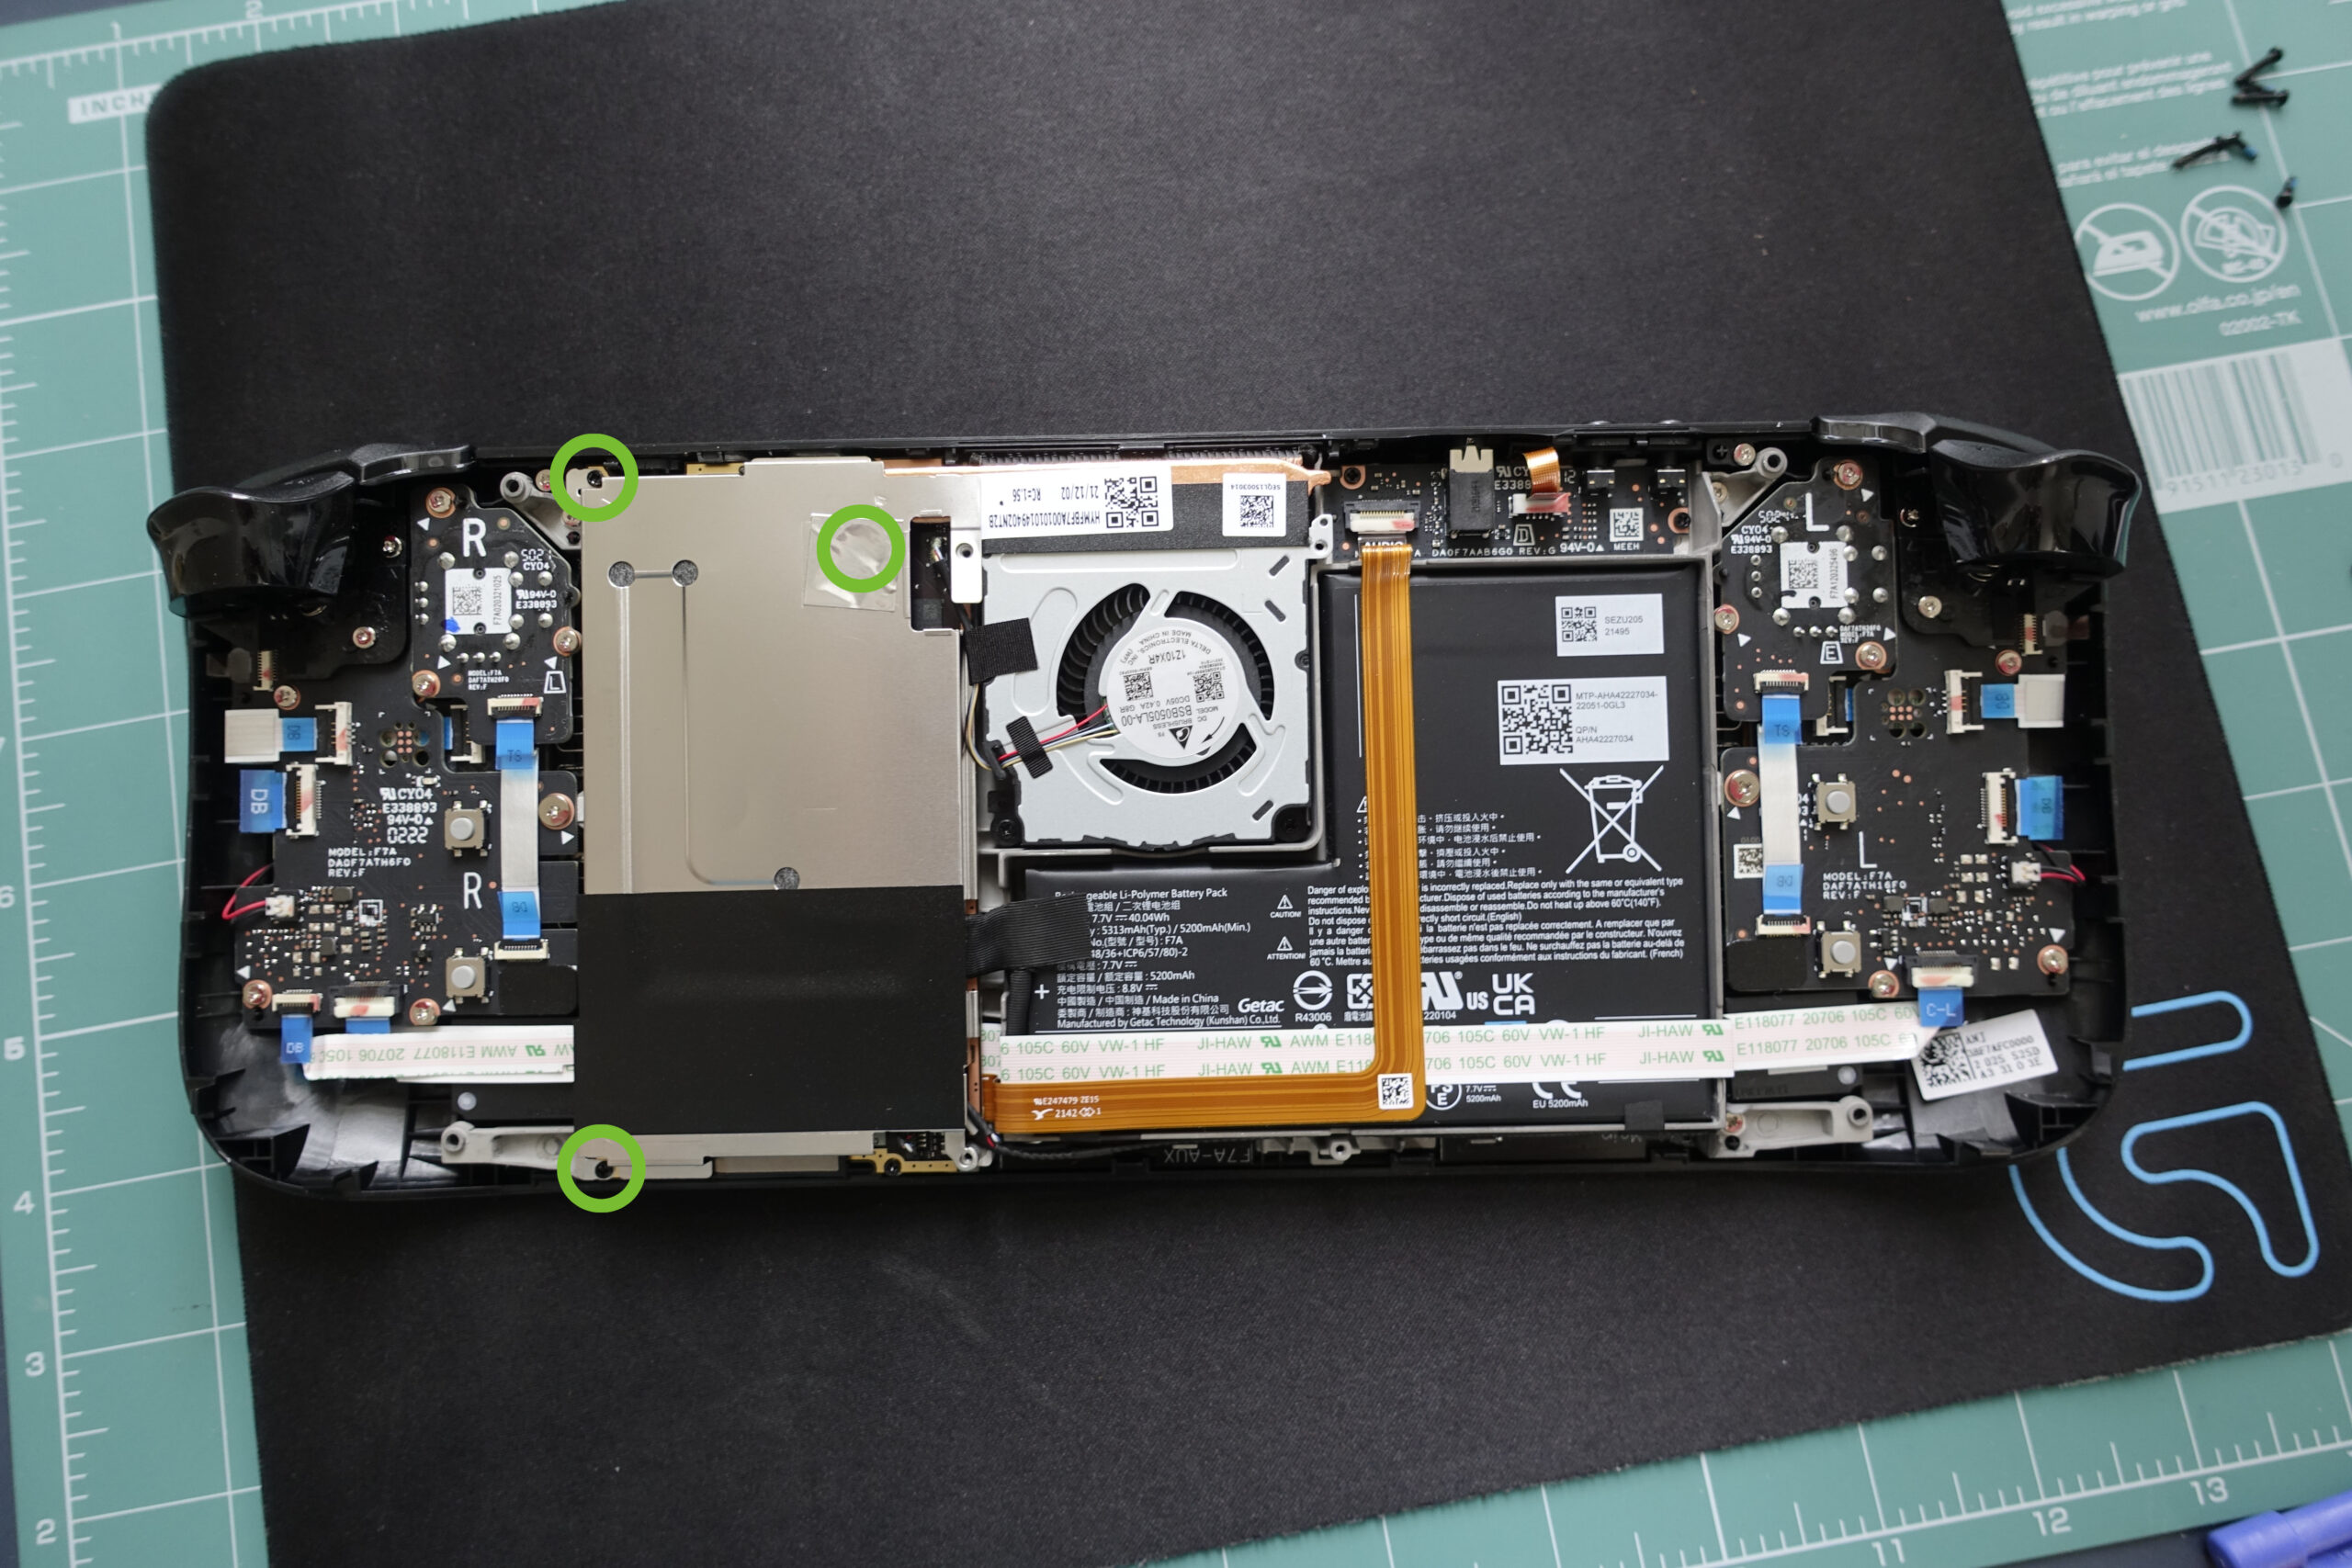
You’ll need to remove the three screws indicated by the circles. One is underneath a metallic sticker, which you should carefully peel back just enough to access the screw underneath. You can use the blade of a box cutter knife, or anything that’s sharp enough. Be careful not to tear it. I suppose it’s meant to create an air channel inside the metallic shield by separating it from the rest of the casing.
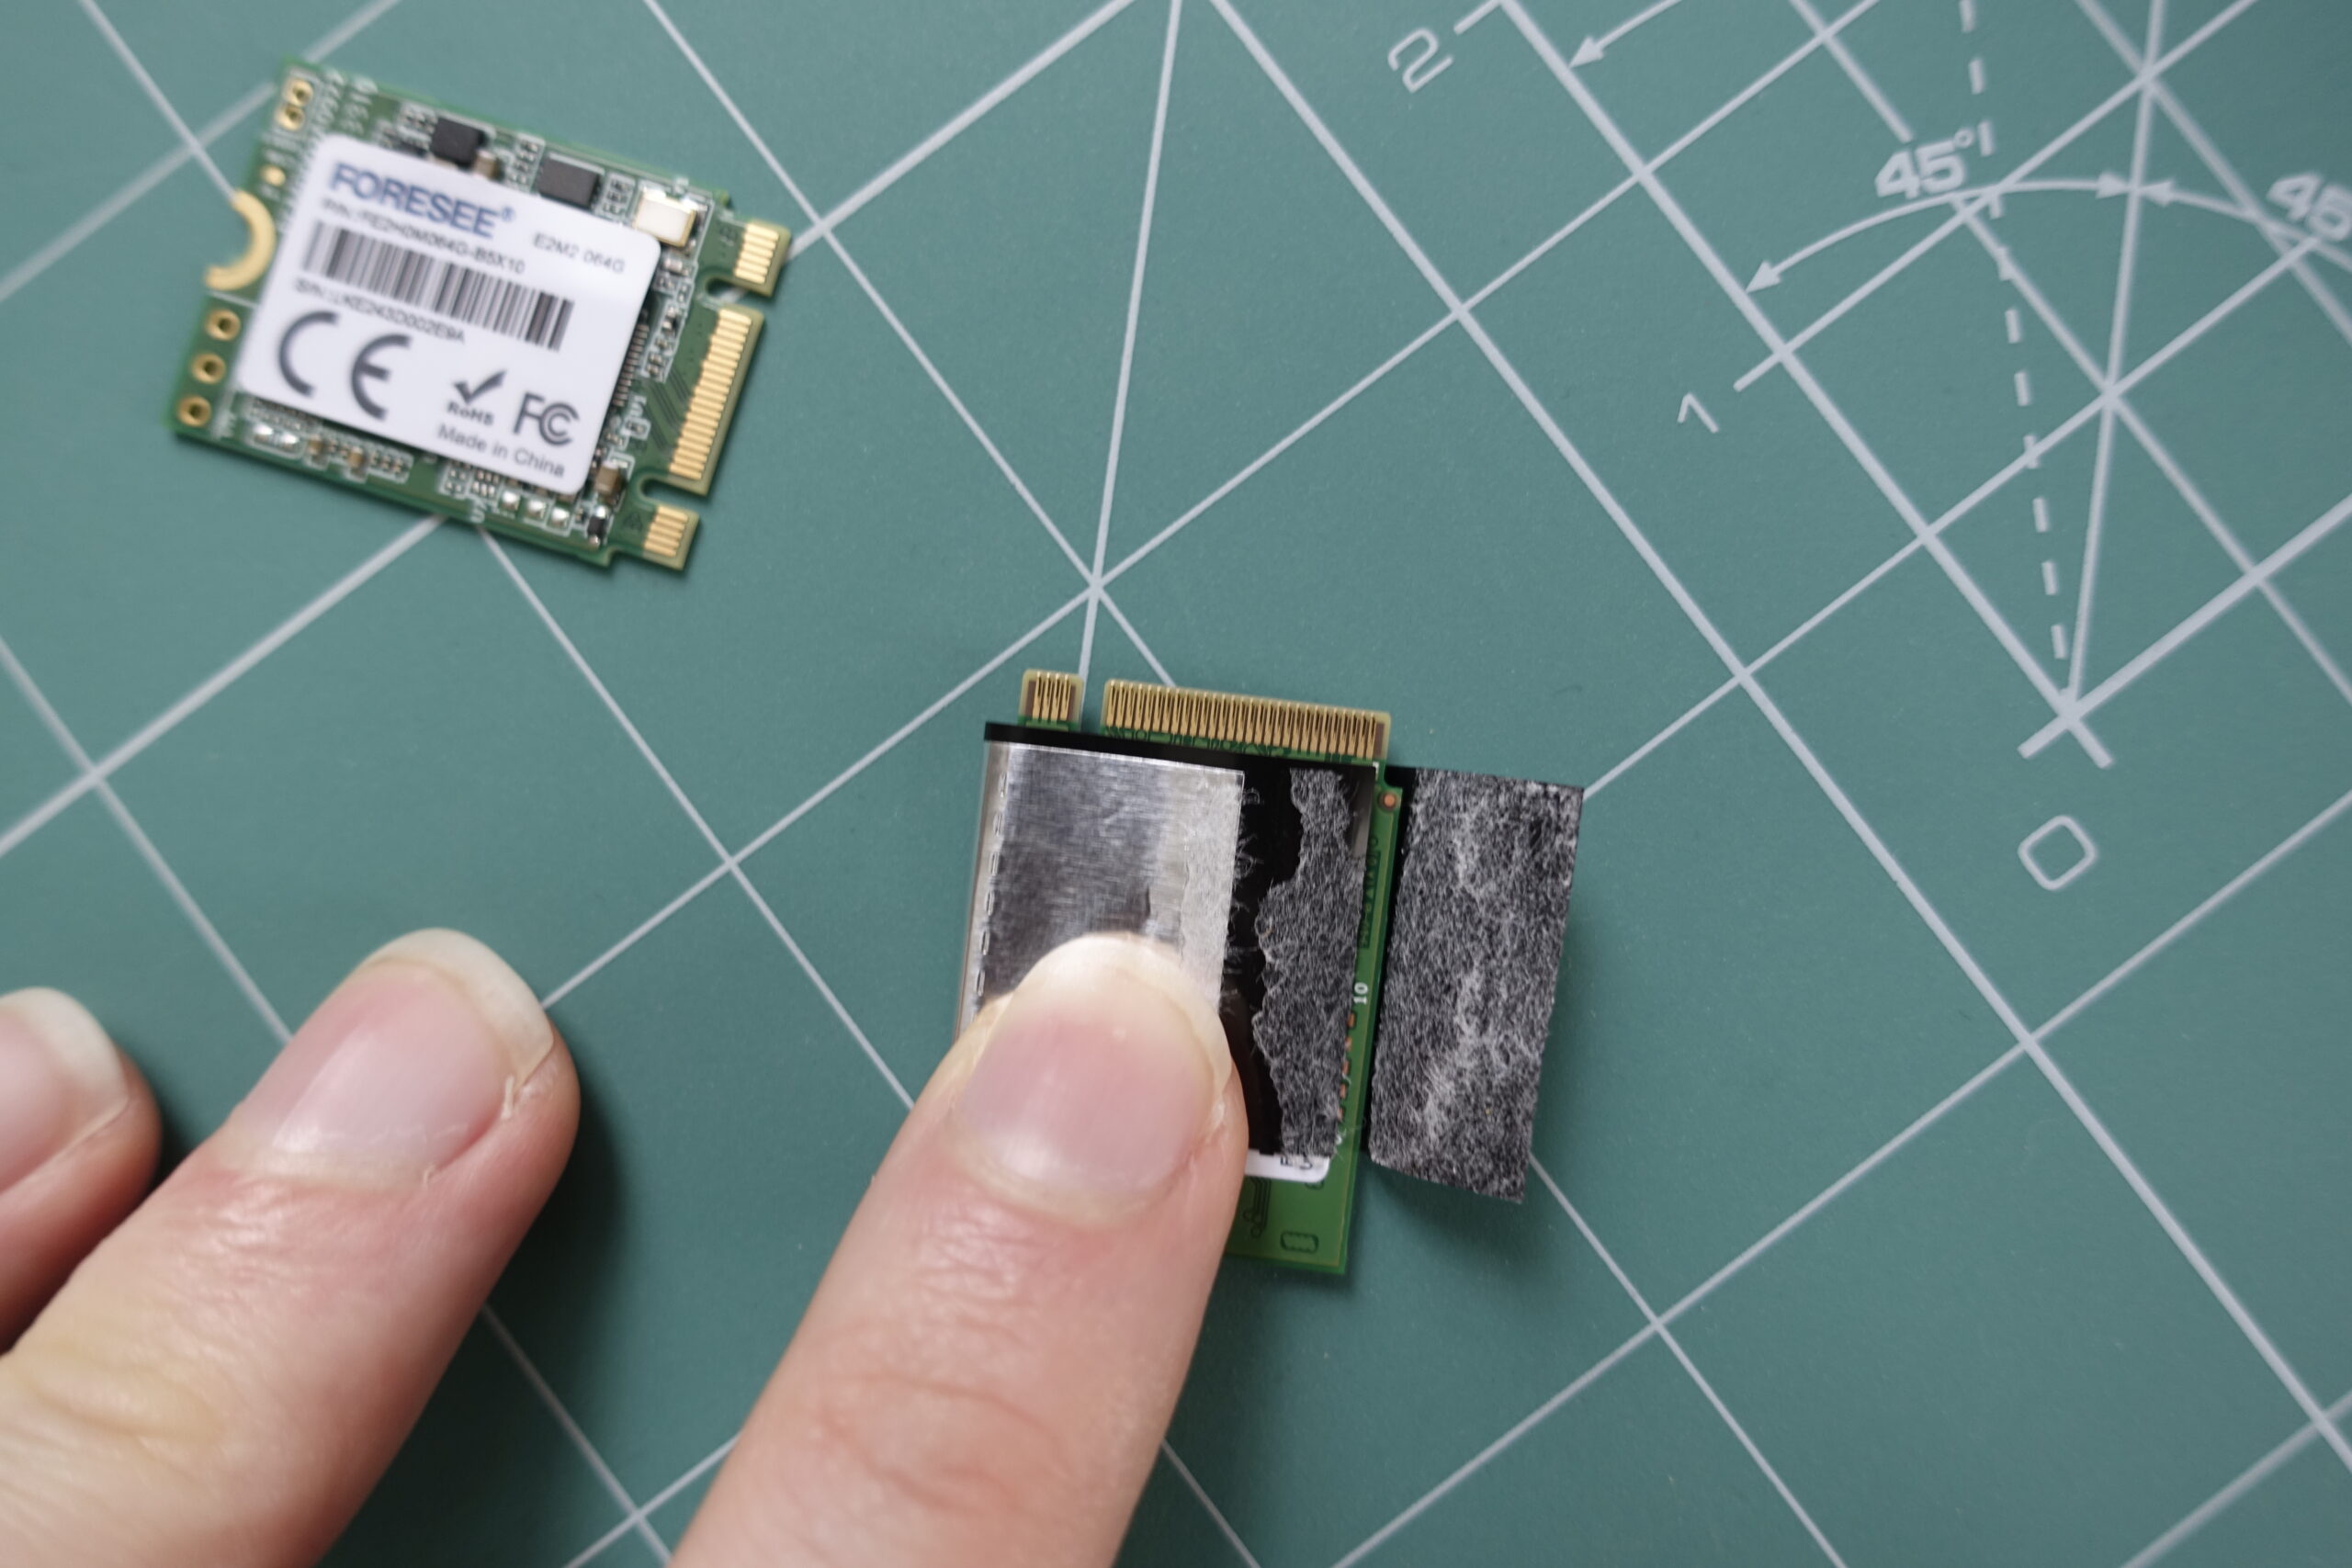
Next is to remove the old drive. In my case it was a 64gb eMMC drive.

Once it’s done, we’ll have to slide off the shield and wrap it around the new drive. This 64gb drive was significantly thinner than the 512gb SK Hynix BC711 that I replaced it with, so I had to unfold it and wrap it around the new drive.
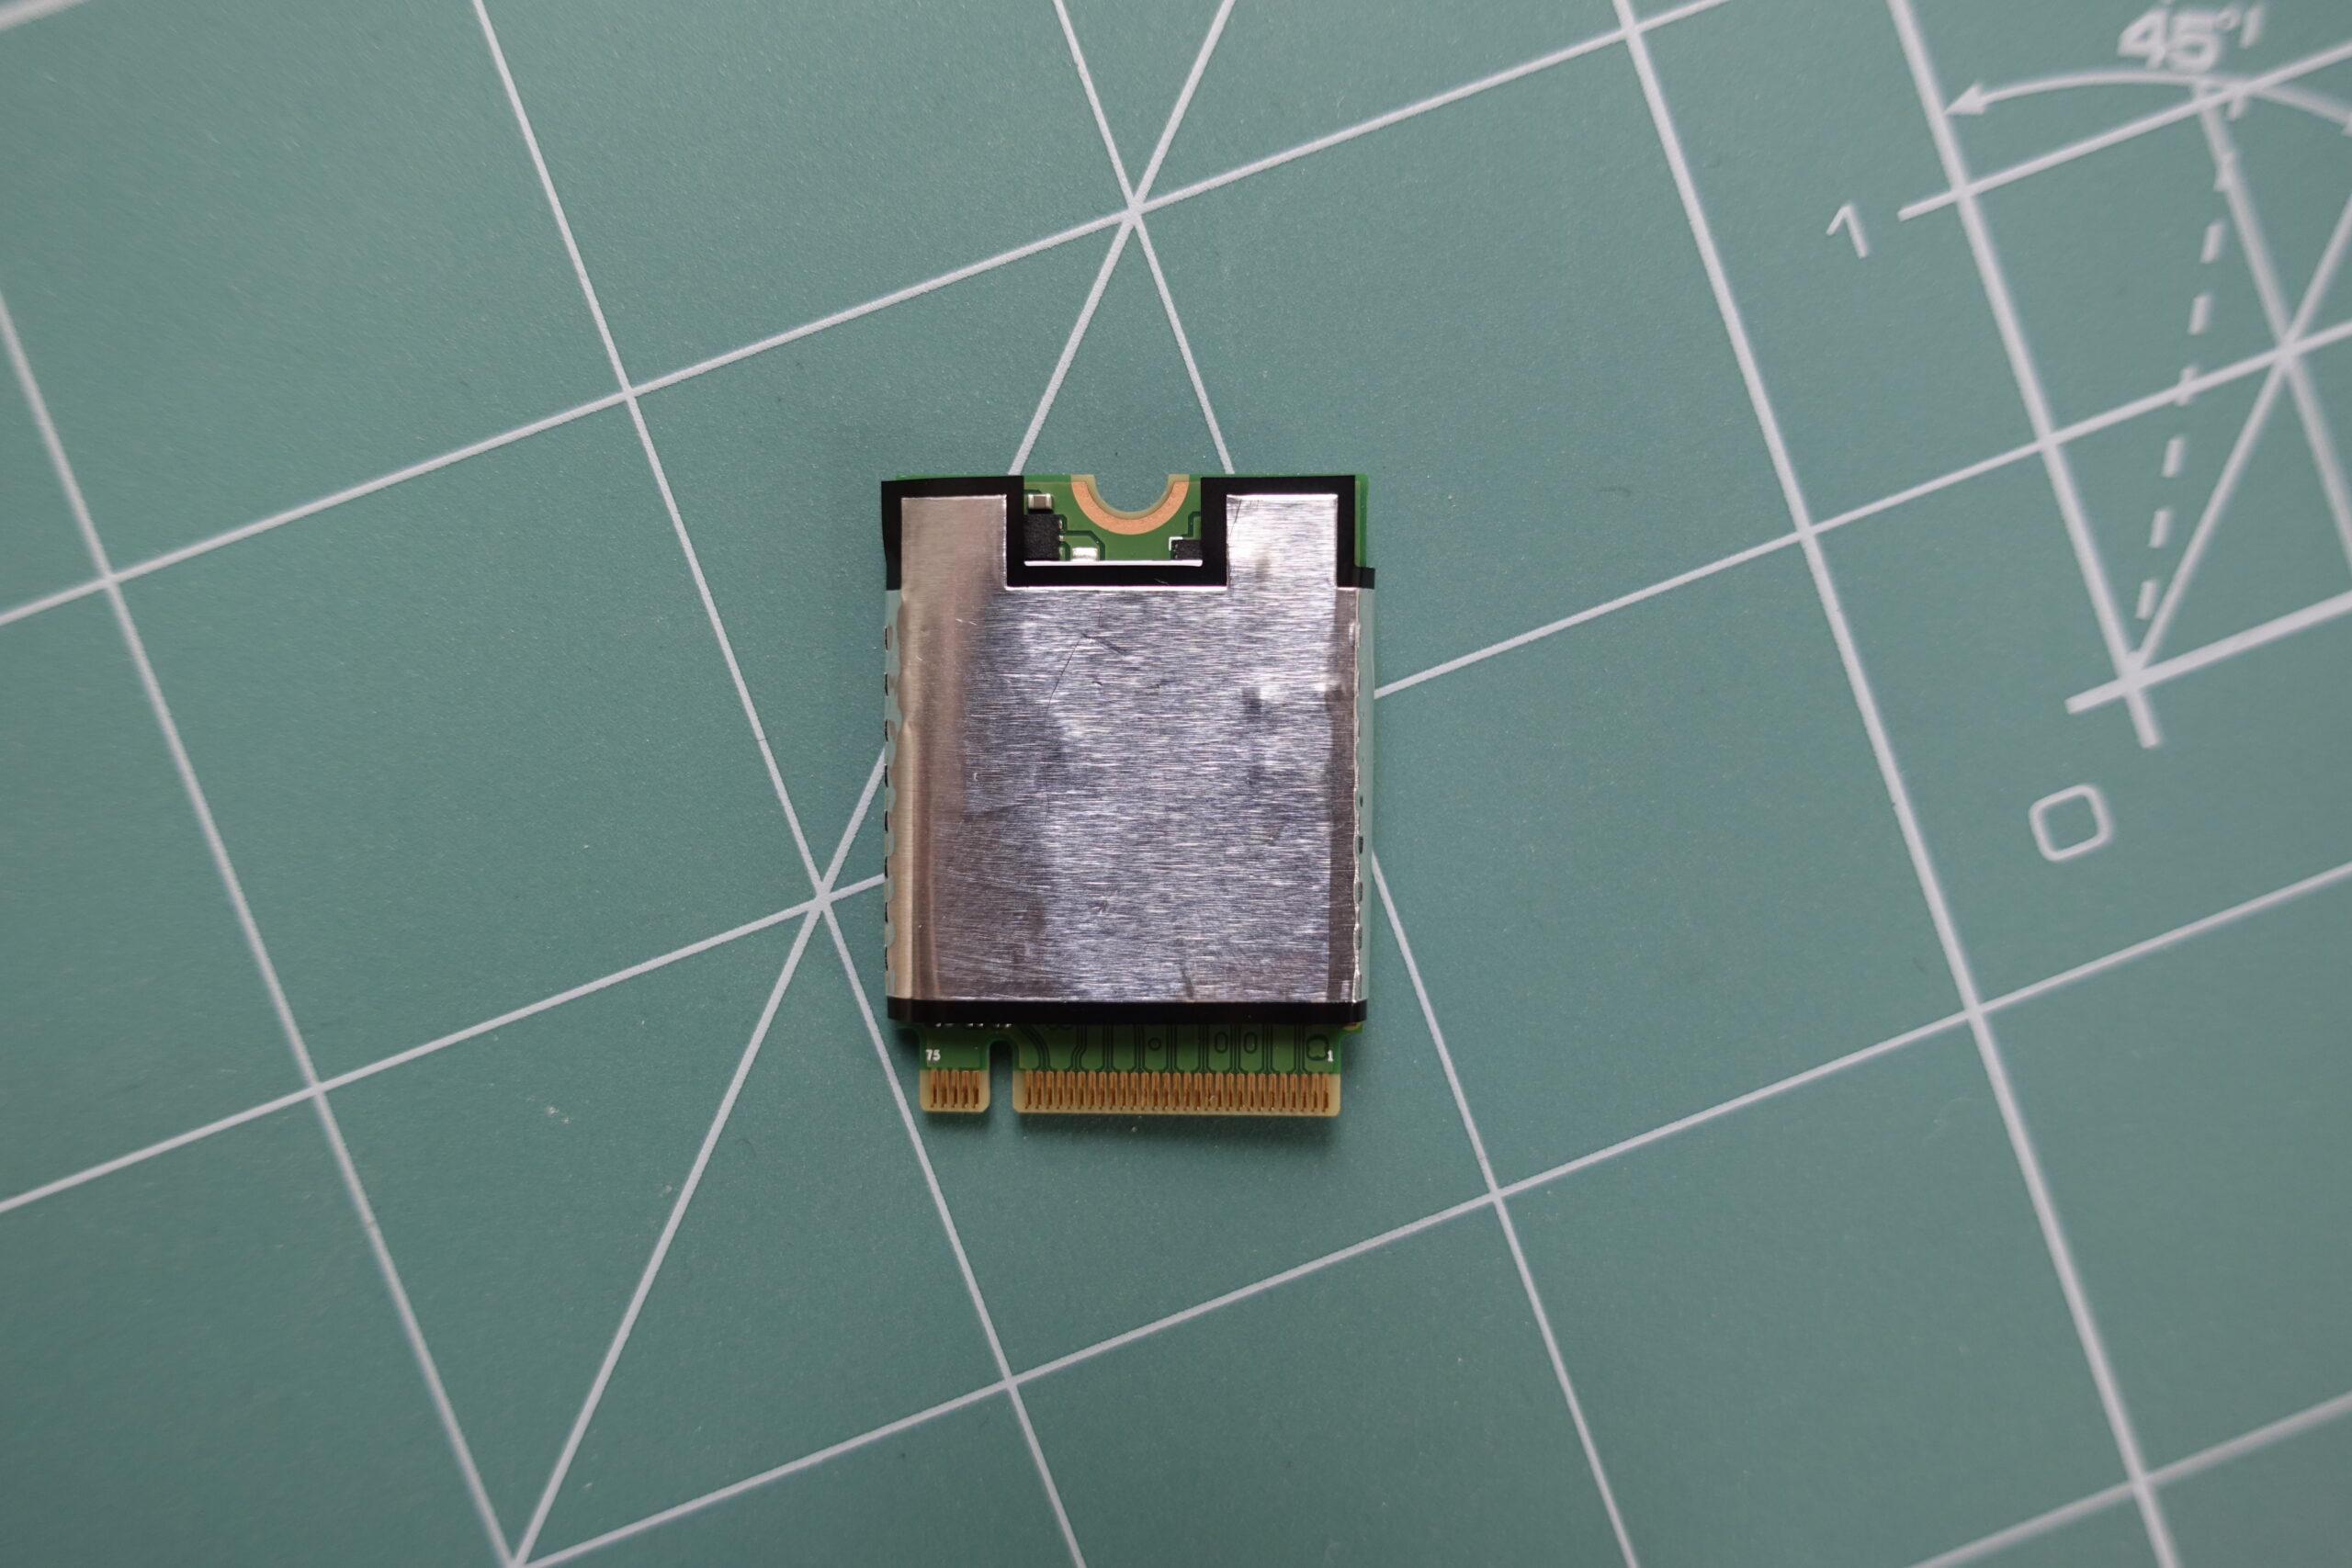
Once that’s done, it can go straight back in the place of the old drive. And from here onwards, just go through the steps in reverse. Once it’s been assembled, follow the instructions on Steam’s website on how to install SteamOS from scratch. You’ll want to re-image the deck. If the new SSD has any partitions on it, it may cause the installer to fail, in which case you can use the partition manager to delete them before attempting the installation again. After rebooting, it may get stuck on static screens and logos for 10+ minutes, but that’s normal. Just make sure it’s plugged in.
If everything went well, you should have a deck with more space for your games library.
Leave a Reply